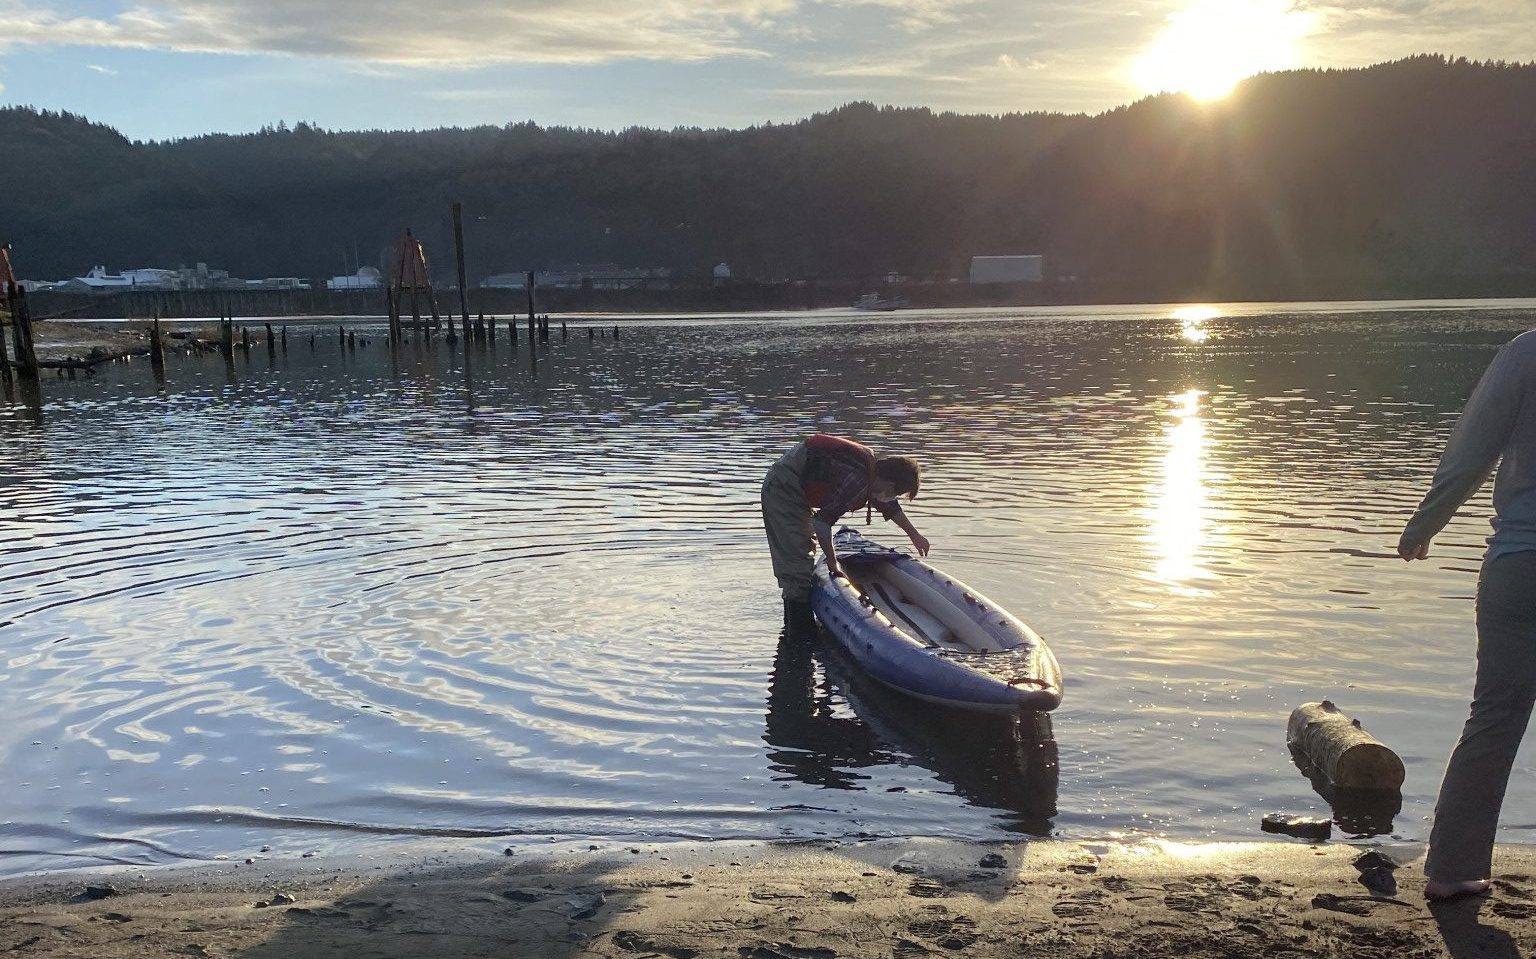
Tests with the wave attenuators were conducted on the University of Portland River Campus right on the Willamette River. Over the course of the Spring 2021 semester, testing methods and materials were refined to a final test procedure that yielded satisfactory results for analysis.
Test Materials
- 2 water waders
- 1 inflatable 2-person kayak
- 2 2″ diameter, 10′ length PVC pipes (black paint coat)
- 2 shovels
- 2 5-gallon buckets
- 2 25′ long ropes
- 2 3D printed Wave Measuring Buoys (see below for details)
- 2 phones with video recording of at least 1080p at 60 fps
- 2 phone running bands
- 2 short bungee chords
- 3 wave attenuators in series
Test Procedure
- Inflate the 2-person kayak to proper pressure as suggested by the manufacturer.
- Fill the two buckets half-way with sand and 1-2 medium sized rocks from the shoreline to serve as anchors.
- Secure a rope to each bucket’s handle with a proper knot that will not undo itself.
- Wearing water waders, bring the wave attenuators into the water and tie them between 2 wooden pier posts that open out to an empty body of water that is deep.
- Wearing life jackets, send two people out to the water on the kayak carrying the bucket anchors with them.
- Using a PVC pipe, measure the kayak to a distance of 10 FT away from the wave attenuator.
- Drop bucket anchors into the water once 10 FT distance has been reached. 1 bucket anchor on each side of the kayak. Make sure the loose ends of the ropes do not leave the kayak.
- Secure the loose ends of the ropes on the kayak such that enough tension runs in the rope to keep the kayak as immobile as possible.
- Using a PVC pipe, measure the depth of the water underneath the wave attenuators. Record the value.
- Place a shovel upright on one side of the wave attenuator so that it is as immobile as possible. Repeat for the other side.
- Slide one floating ring onto a PVC pipe.
- Place the PVC pipe with the floating ring in water so that it goes over the shovel handle. Make sure labels on the PVC pipe are upright.
- Repeat steps 11 and 12 for the other side of the attenuator.
- Set up phone cameras on pier posts with at least 6 FT distance from the PVC pipe they will be filming. One is aimed to capture the incident waves, one aimed to capture the transmitted wave. The phone cameras will be secured using phone running bands and short bungee cords. Avoid capturing direct sunlight.
- Measure and record water temperature.
- Record the water depth gauge on each PVC pipe.
- Start phone camera video recording at about the same time when ready to start testing.
- Create waves by having the two people on the kayak rock the kayak side-to-side in sync. Produce waves for 5 counts, stop to rest, and repeat these two actions for 10 total wave producing actions.
- Stop recording on the phone cameras.
- Clean up.
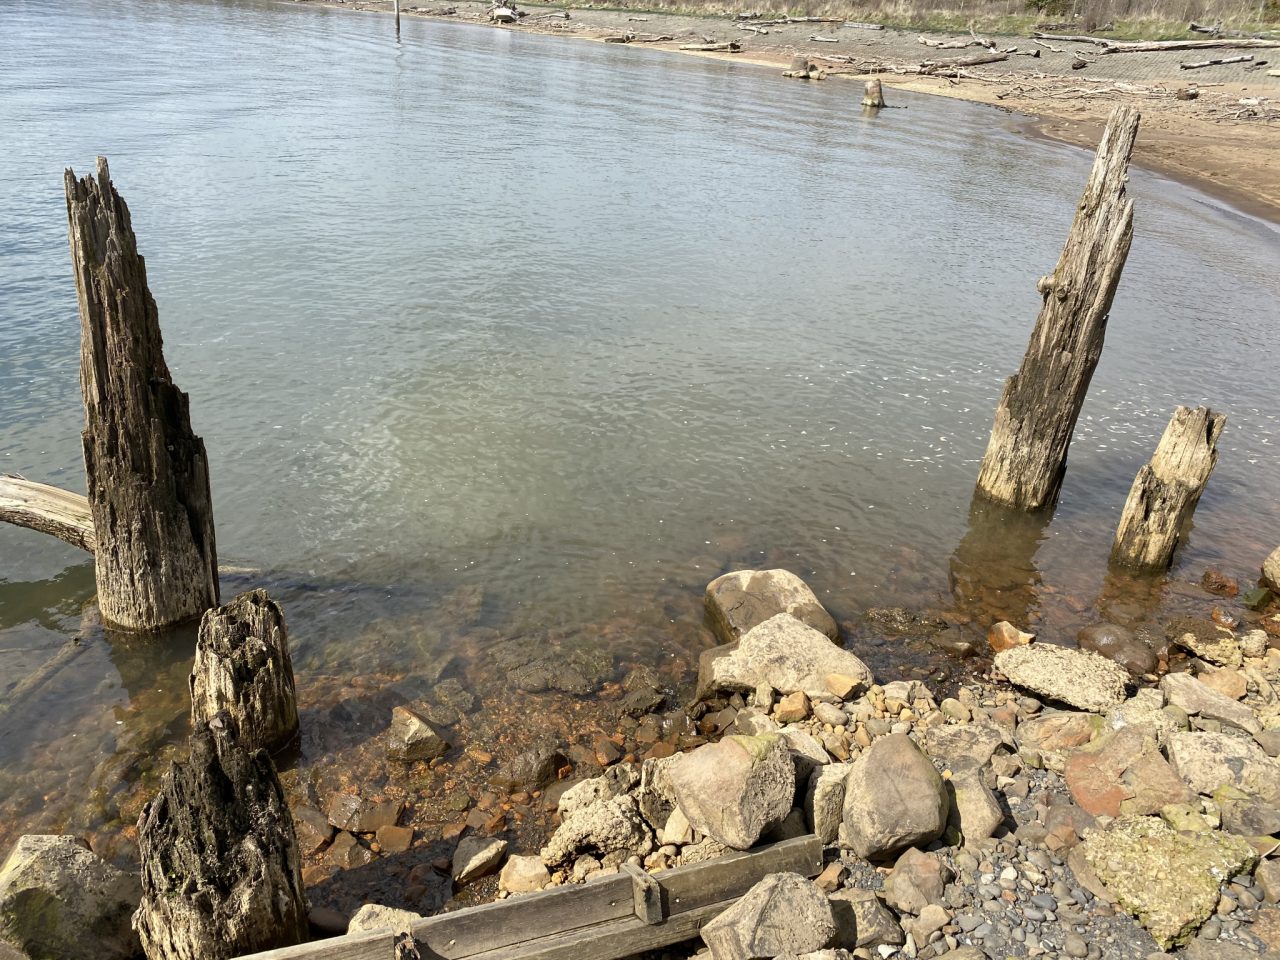
Test site with two wooden pier posts where attenuators will be tied. Phone cameras are also tied to the two wooden posts on the left (as to not directly record the sun’s rays). 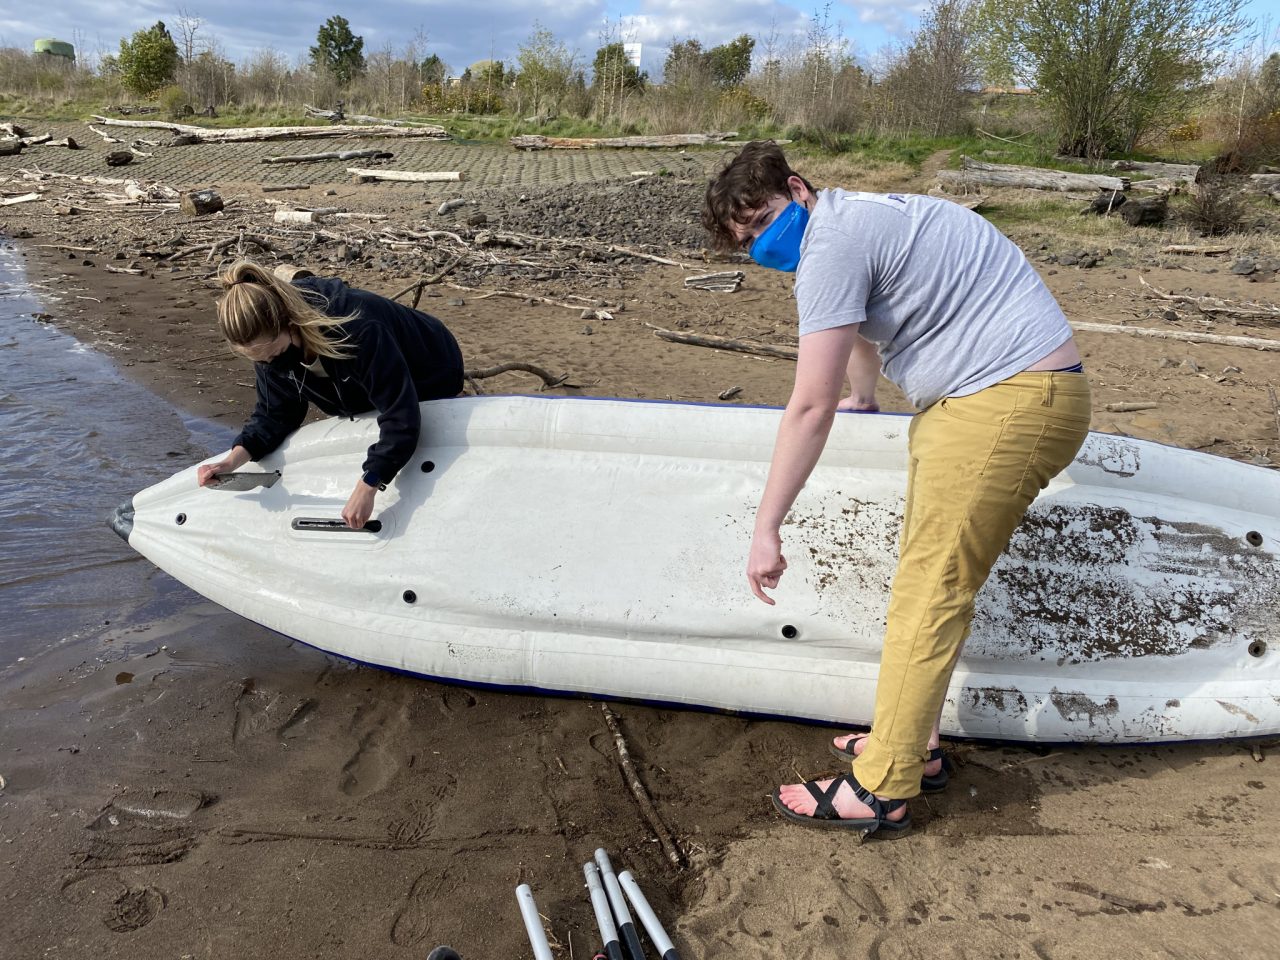
Getting 2-person kayak ready for testing. 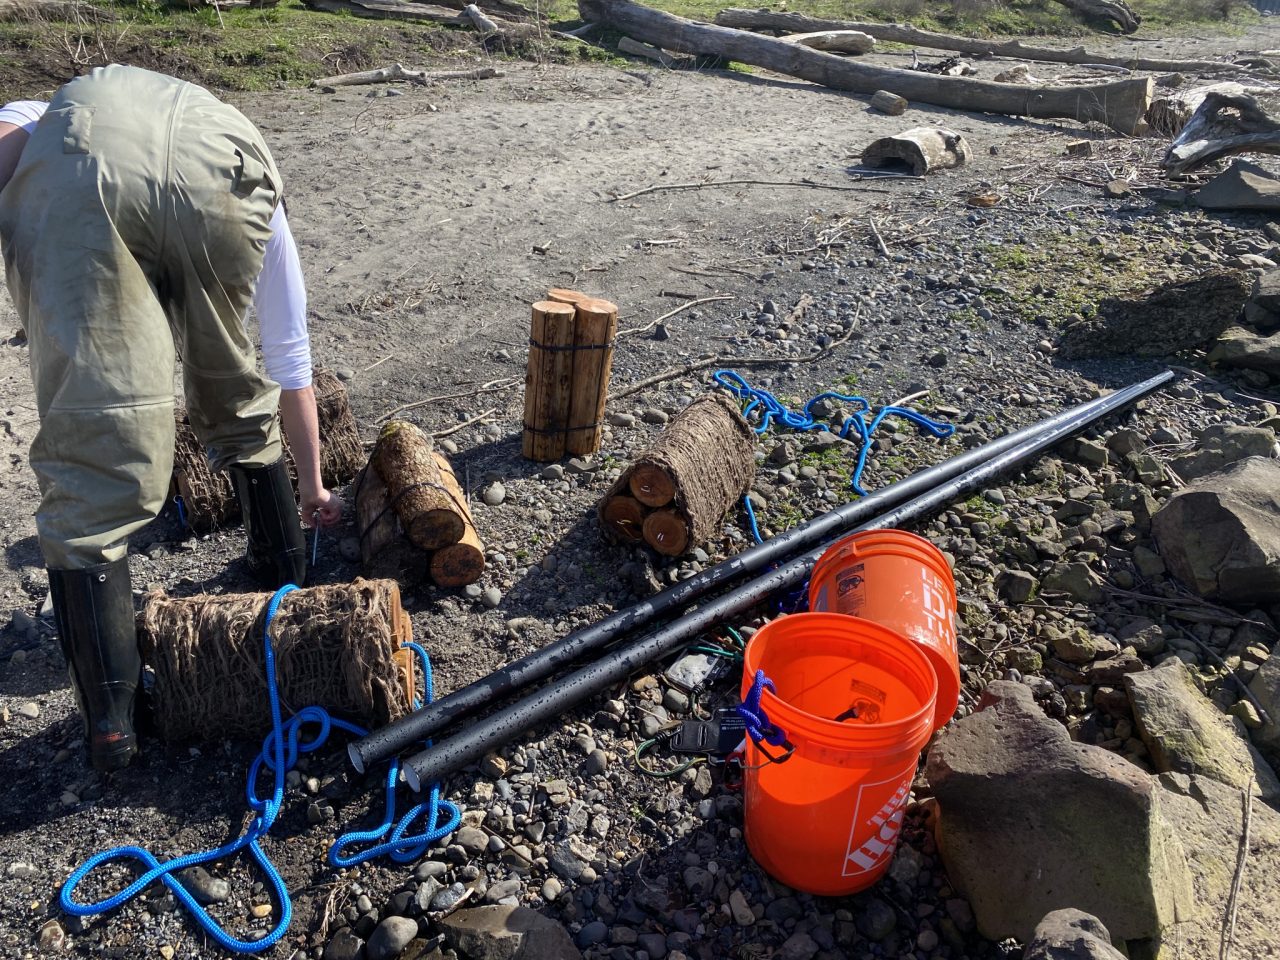
Preparing materials for setting up the testing site. 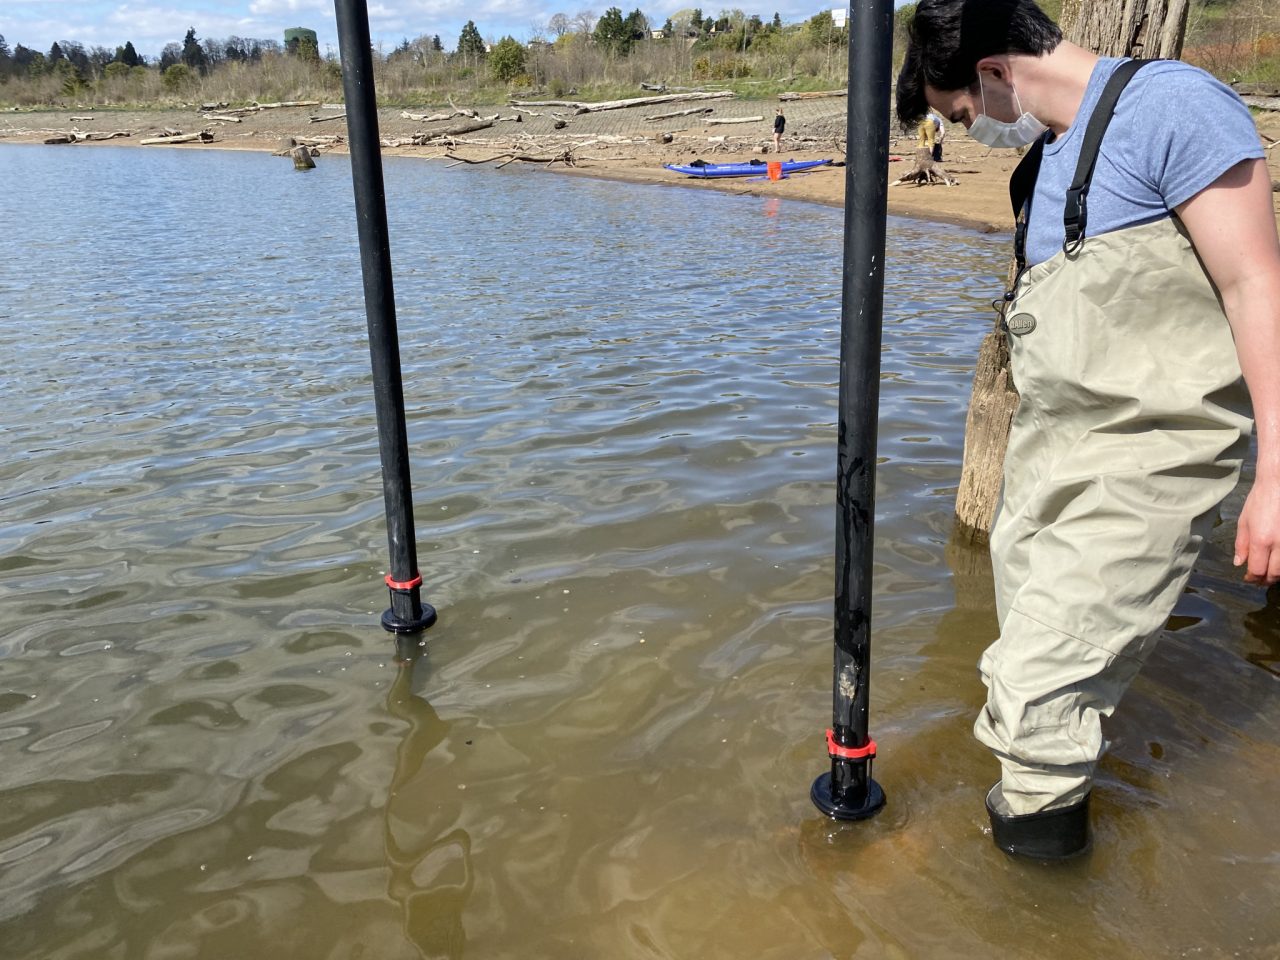
Stabilizing the shovels holding up the PVC pipes. 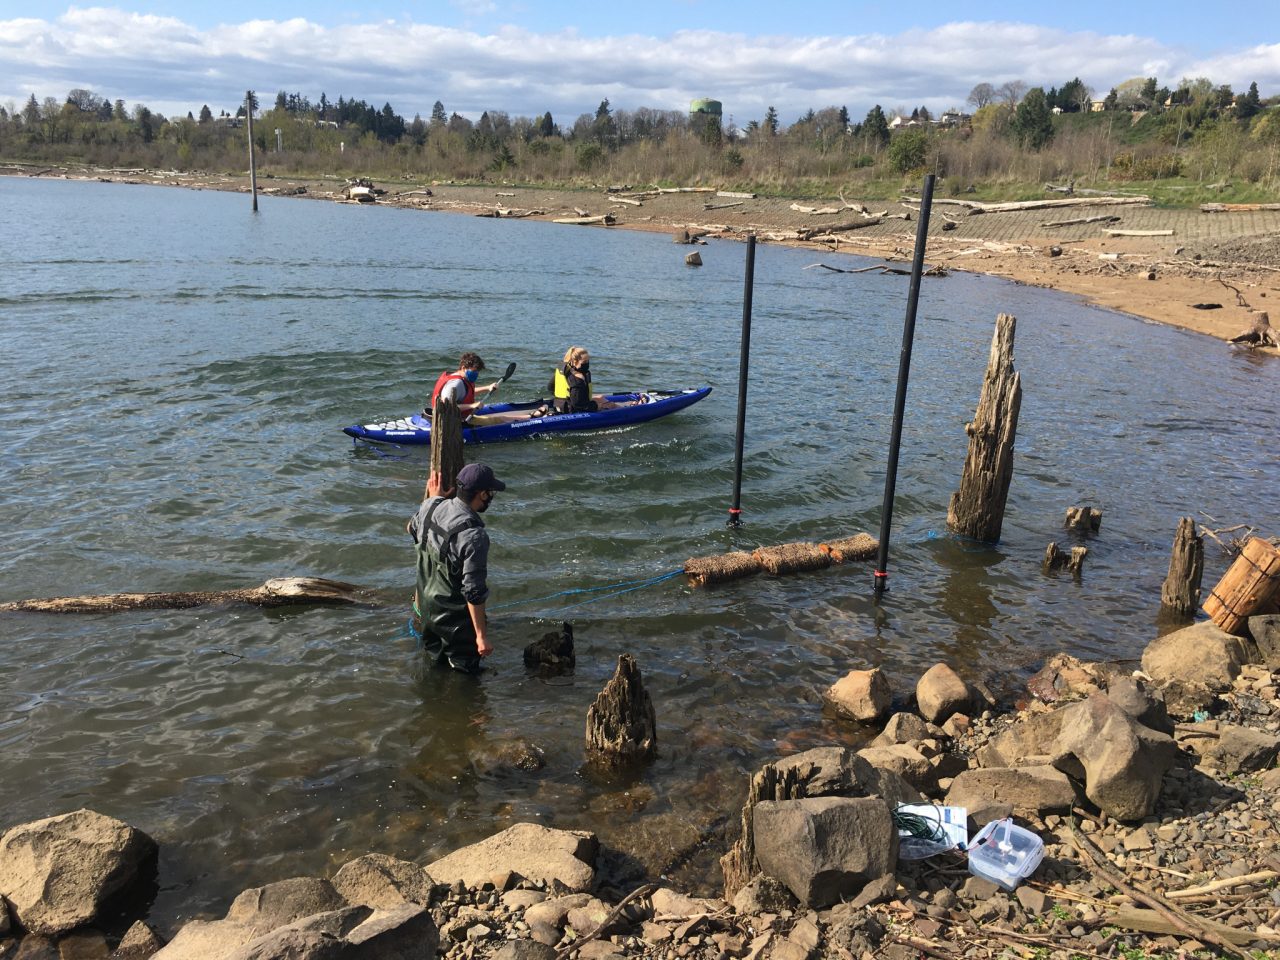
Aerial view of test in progress. 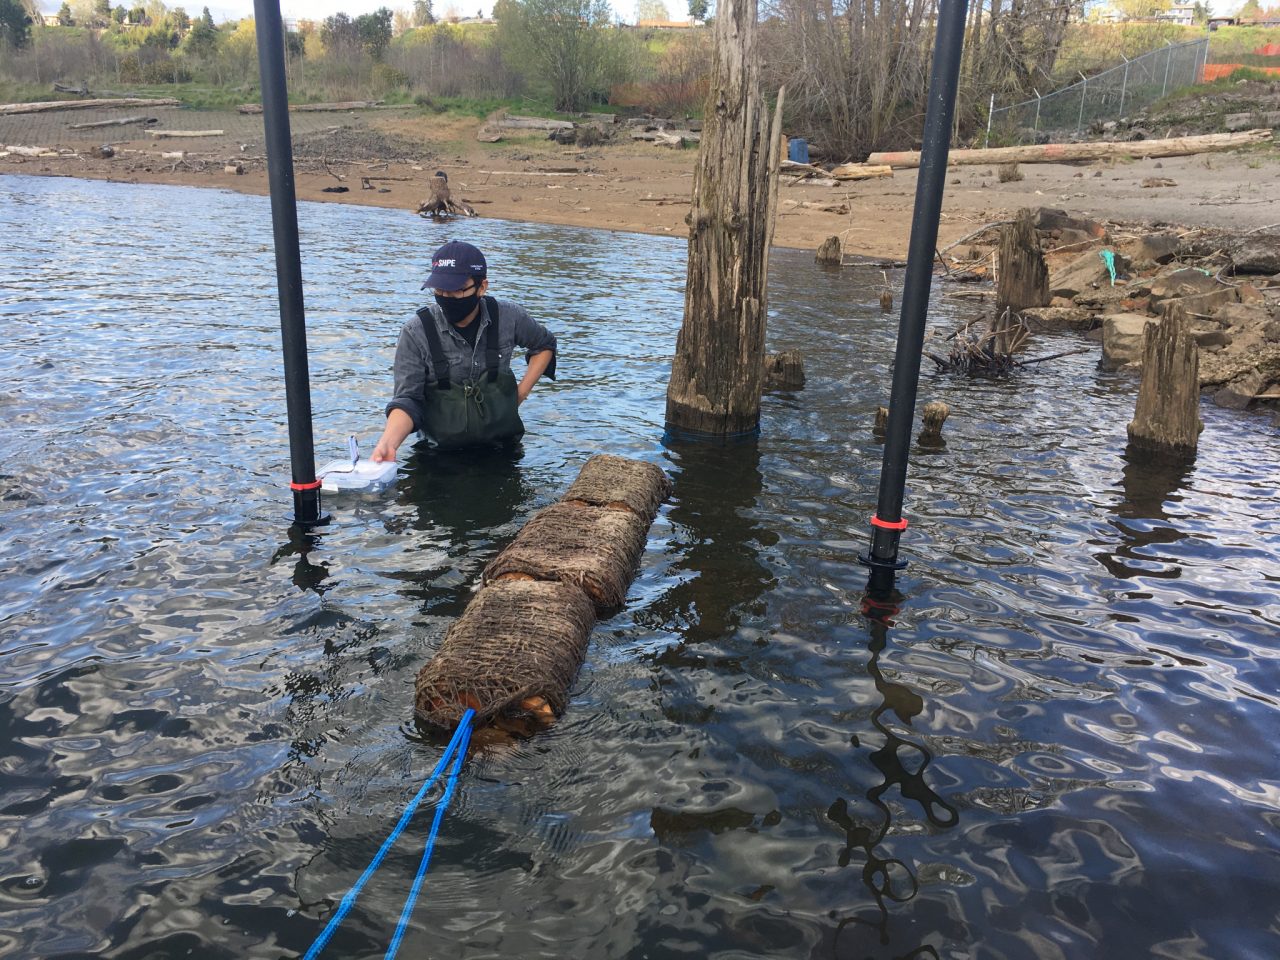
Mobilizing the wave energy measuring device.
Wave Energy Measuring Buoy
The Wave Measuring Buoy (WEMB) was designed by the team to combine two wave energy measuring methods and see if their data collections are in agreement. The Wave Measuring Buoy is 3D-printed using PLA filament. The Wave Measuring Buoy slides onto the PVC pipes and will ride the waves while being constrained to vertical motion.
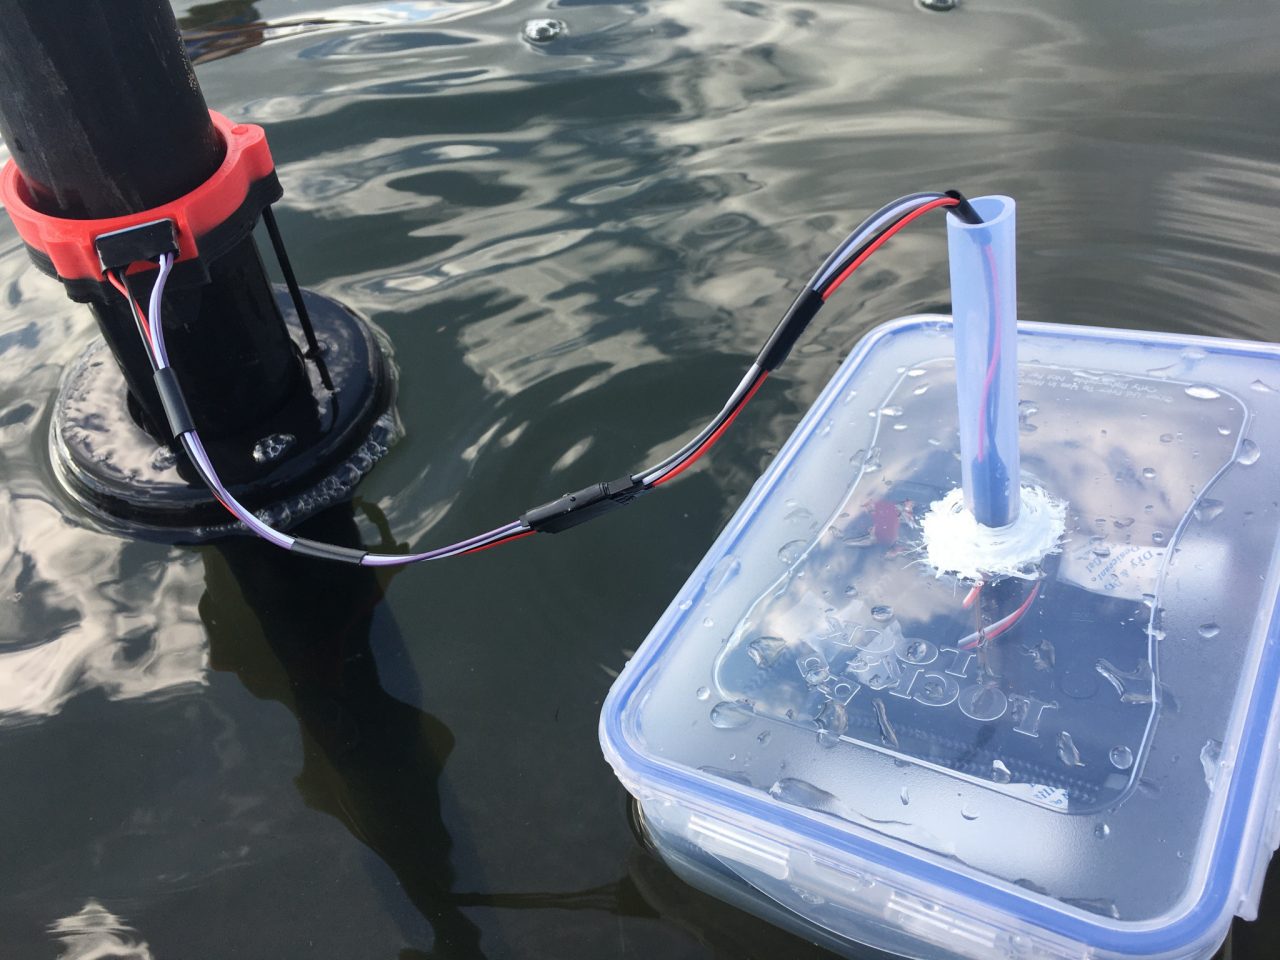
Wave energy measuring device in the field. 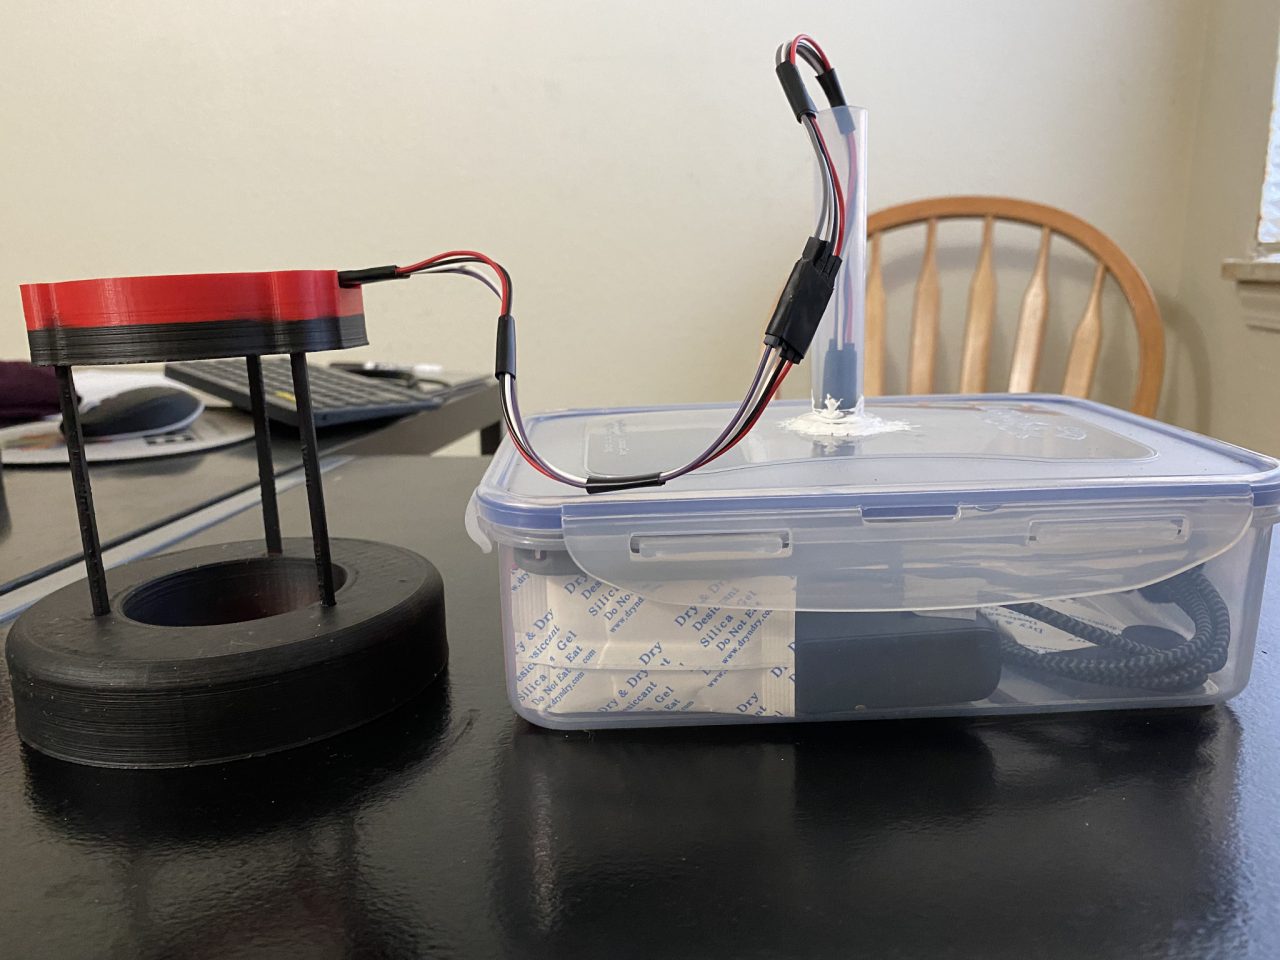
Wave measuring device with accelerometer in 3D printed bouy. 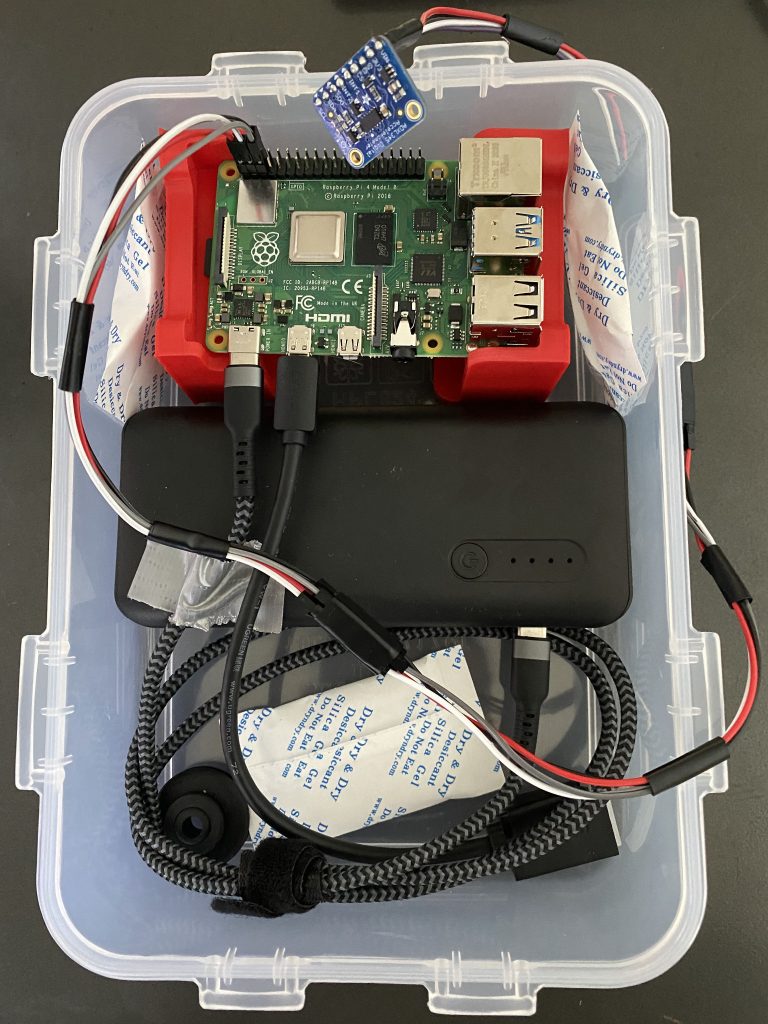
Electrical components in container (3V battery pack, 8GB Raspberry Pi 4 Model B, 64GB microSD card, HDMI-to-microHDMI cable). 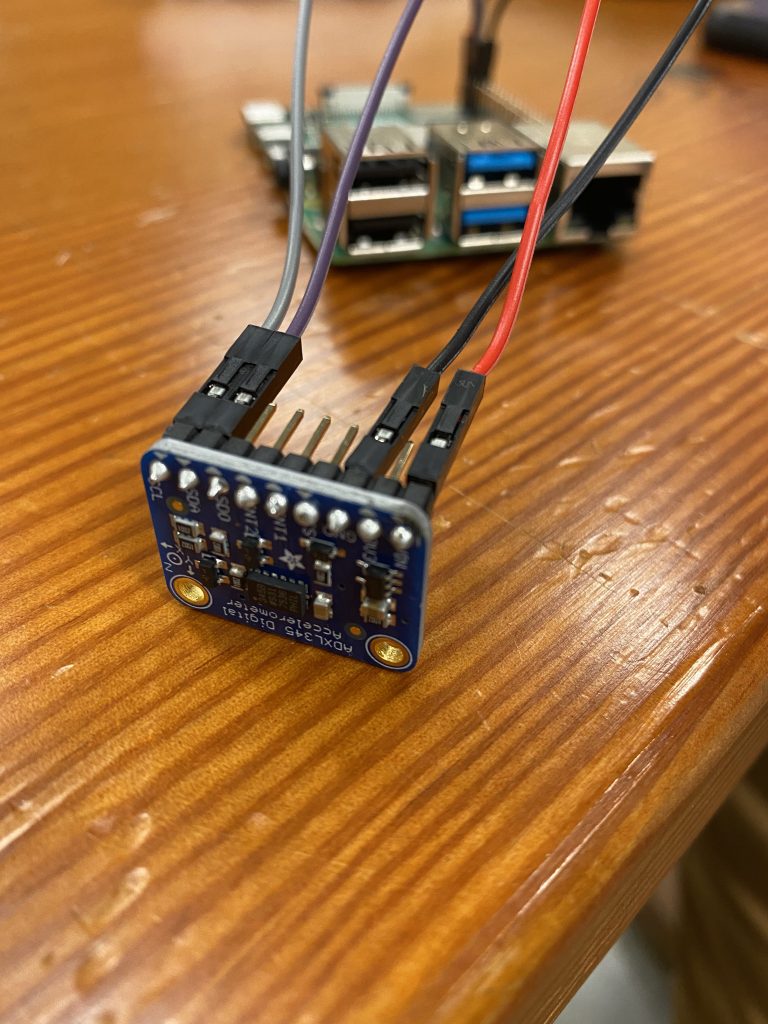
ADXL345 accelerometer. 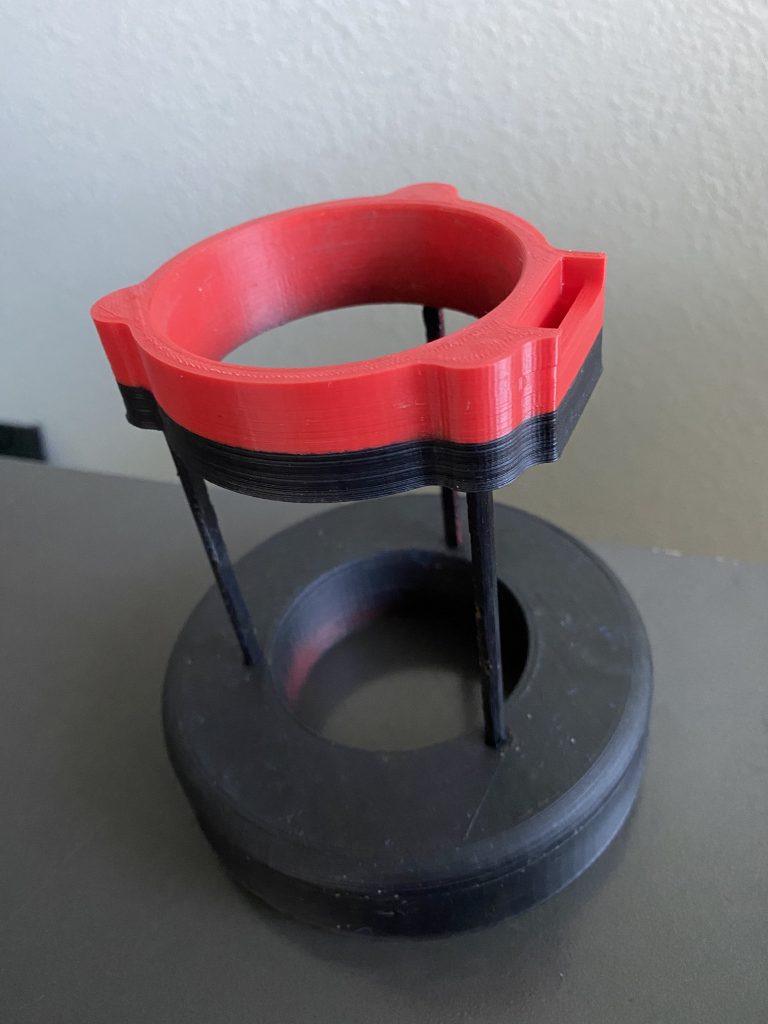
3D printed Wave Measuring Buoy to hold accelerometer.