You can embed a MediaSpace video anywhere in Moodle that you can type into a text-editor. Here are some ways embedded MediaSpace videos might be used:
- An instructor can create a welcome or syllabus overview video at the top of the course
- Students can add videos to a discussion forum (teachers, if you want to create a graded assignment for students to submit to, check out the Media Assignment activity).
- Teachers can create voice-over-PowerPoint video lectures and post them to “flip your classroom”
- An instructor might use video to give detailed instructions in the Description field in an assignment
- Teachers can add a video to give personalized feedback to student assignment submissions
Step 1
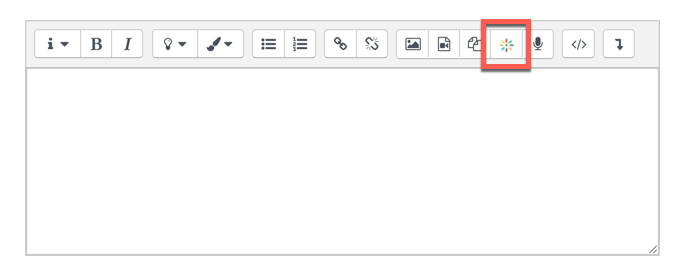
In any area you can add text in Moodle, look for the MediaSpace tool in the toolbar. Click the MediaSpace tool and a new window will open (make sure to allow pop-ups if you don’t see it).
Step 2
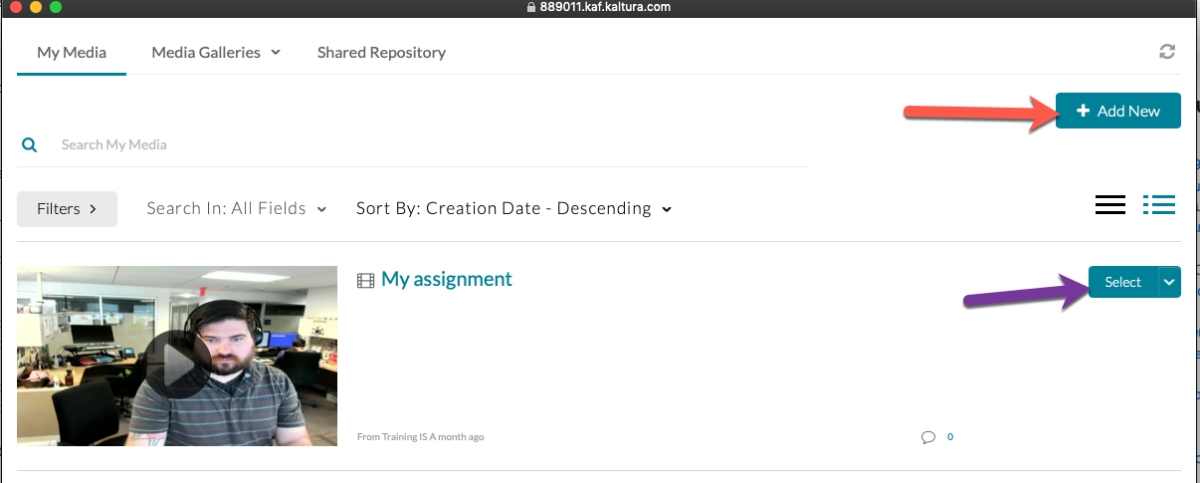
You will see any videos you have uploaded to UP MediaSpace listed in the pop-up window.
To upload a video from your computer or create a new video, click Add New and go to Step 3.
If you want to use a video you already uploaded, you can click Select next to the video you want to use and skip to Step 6.
Step 3
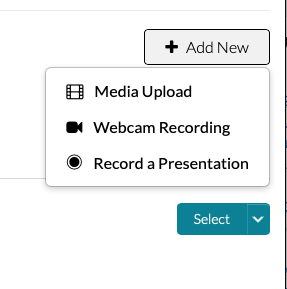
From the Add new button, you can choose:
- Media upload to upload a finished video file, like an .mp4, from your computer
- Webcam recording to record a video using your computer webcam (requires Google Chrome or Mozilla FireFox)
- Record a Presentation to use the Kaltura Capture app, which lets you record your screen and/or webcam. This is useful if you want to create a voice-over-PowerPoint video or demonstrate something on your computer screen.
For this tutorial, we will assume you want to upload a video file.
Step 4
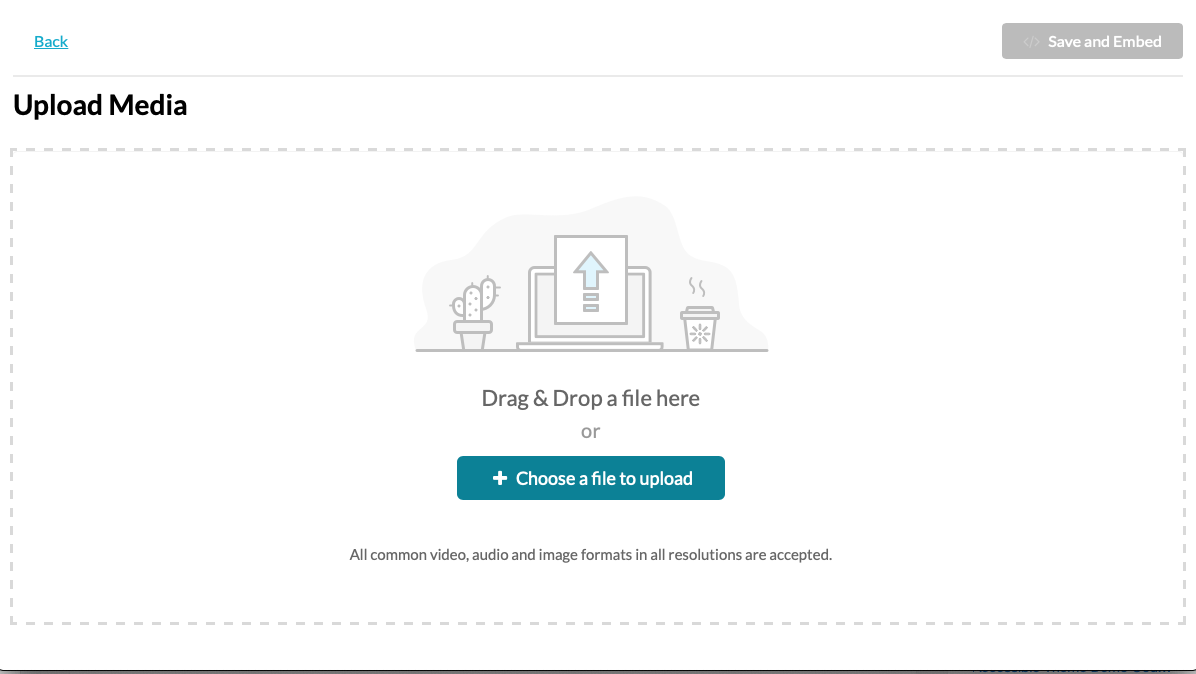
Click Media upload. Then, drag and drop your file onto the upload area, or click Choose a file to upload and use the file picker to find your video.
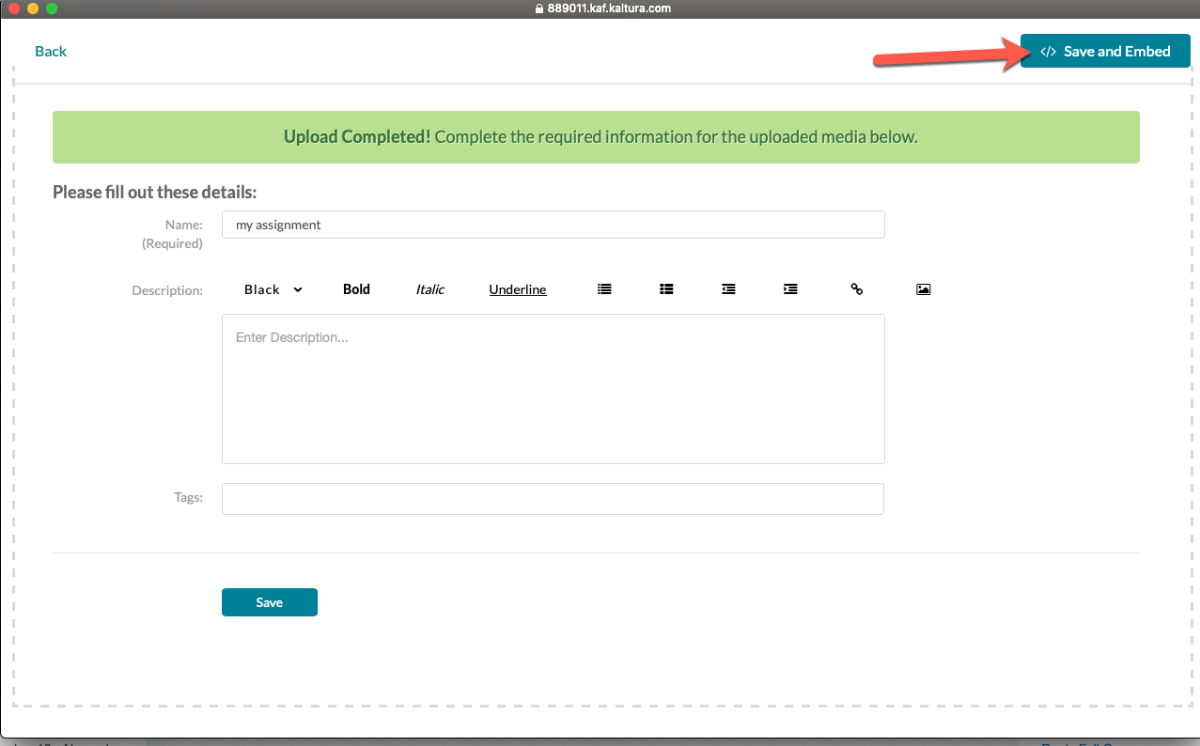
Step 5
Your file will start uploading. Depending on the size and your upload speed, this may take a few minutes. Make sure to give your video a descriptive name while you’re waiting. Once your video is finished uploading, you’ll see a success message. Once the upload finishes, click Save and Embed.
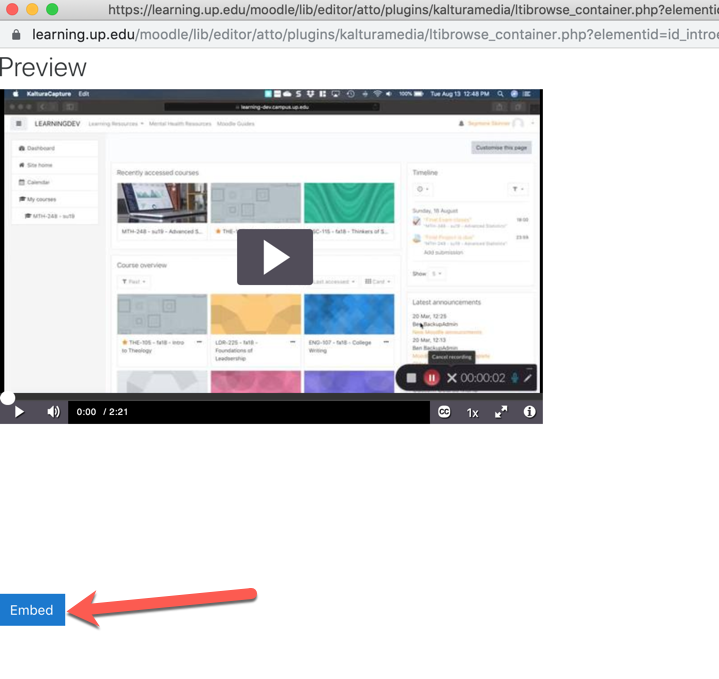
Step 6
You will now see a preview of the video you are about to add. Click the Embed button to proceed (you may need to scroll down a bit to find the button).
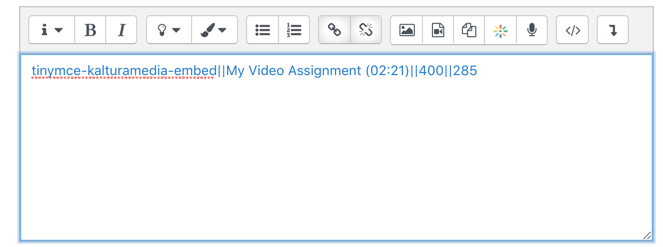
Step 7
Back in the Moodle textbox, you will see some code has been added. Make sure not to change this.
Step 8
Go ahead and save or submit the page your textbox is on. Once saved, the video will appear normally.
