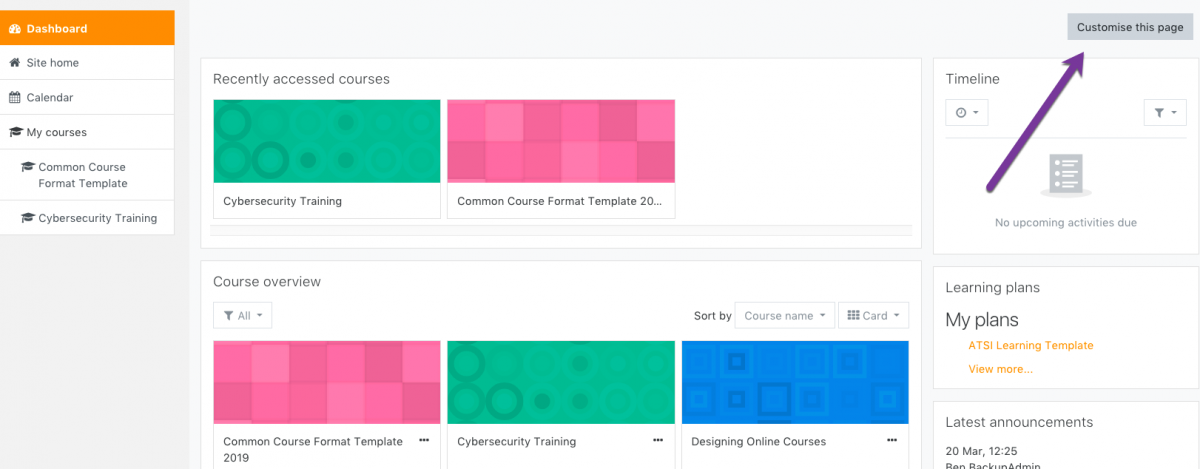
Step 1
After logging into Moodle via myapps.up.edu or directly at learning.up.edu, you will land on your Dashboard. Locate the option in the top right corner labeled Customise this page. Each block will now have two icons: a four-way arrow and a gear.
Step 2
If you click the gear icon on any of the blocks, you will have the options to Configure Settings (allows you to change location and size), Hide, or Delete the block. Note: if you hide a block, the title will show grayed out while in the customization screen, allowing you to locate it if you wish to unhide it, but it will disappear completely when you are leave the customization screen.
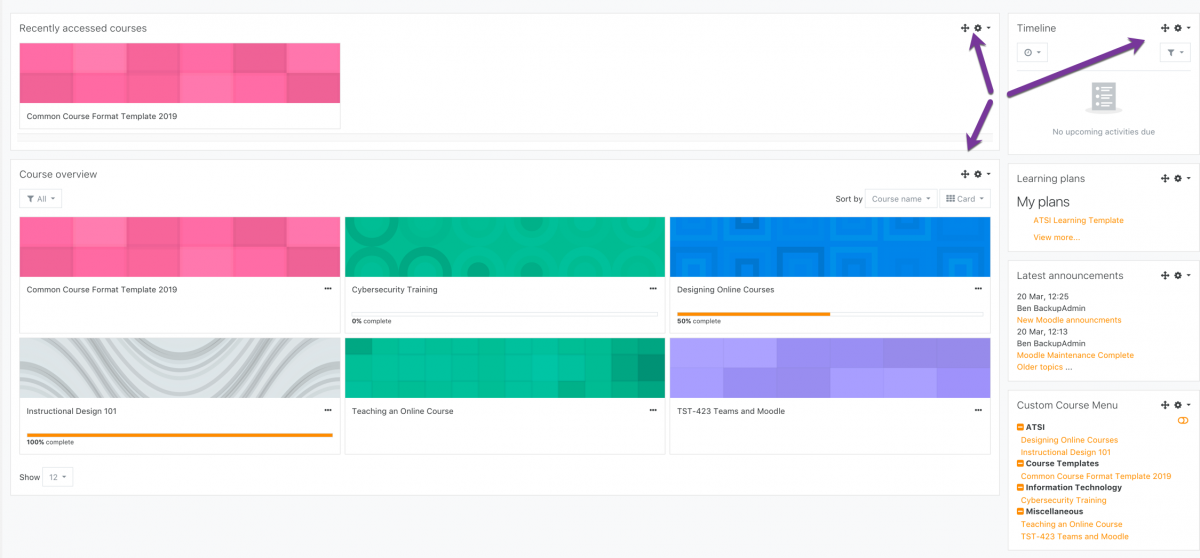
Step 3
In addition to changing the block location from the Configure Settings option, you can also simply drag the blocks around the page to your desired locations by clicking and dragging from the four-way arrows.
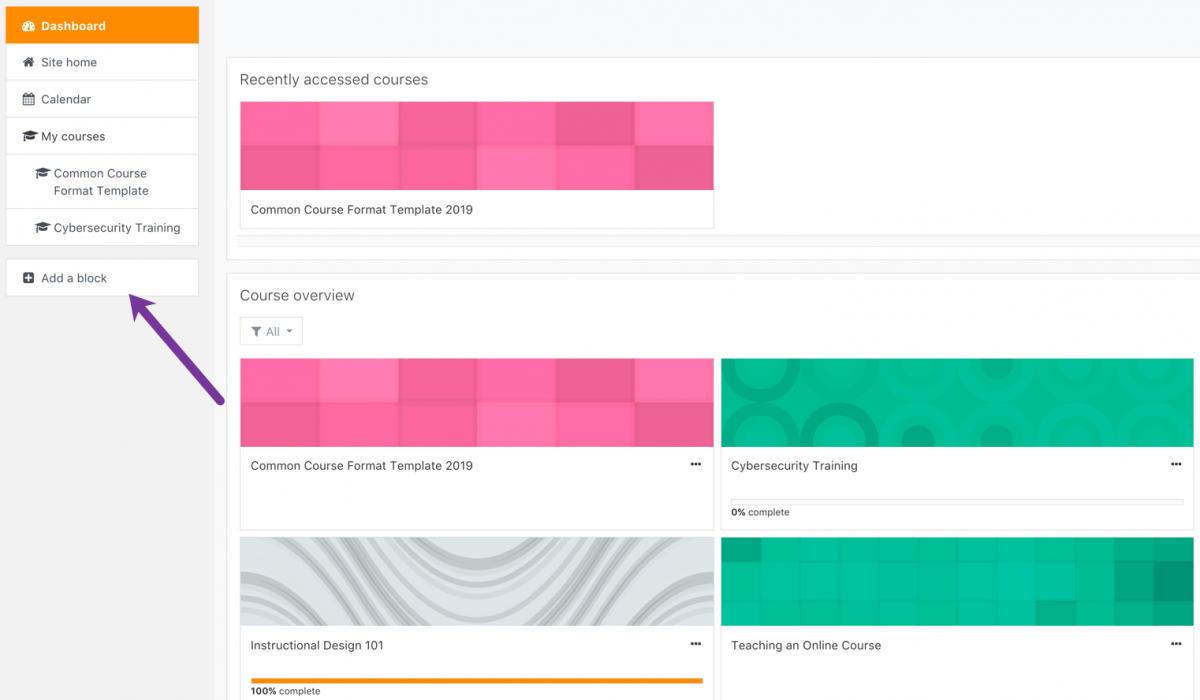
Step 4
If you wish to re-add a block which you have deleted, or view a list of other helpful blocks that are available to be added, such as course completion progress or library resources, you can click Add a block in the left-hand navigation.
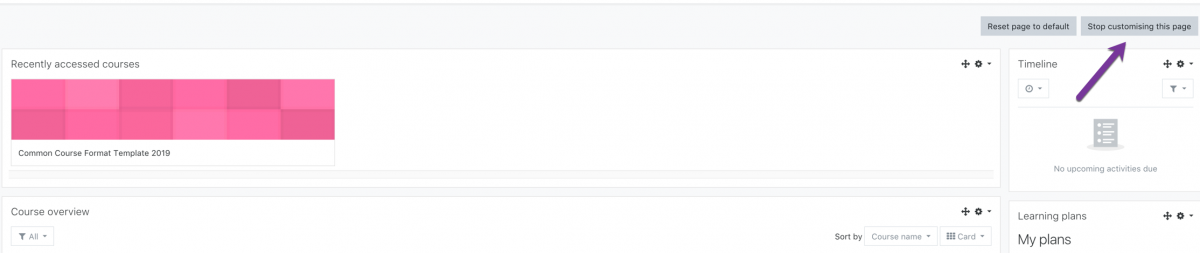
Step 5
If you want to return to the default settings, while in the customization screen, click Reset page to default in the top right corner.
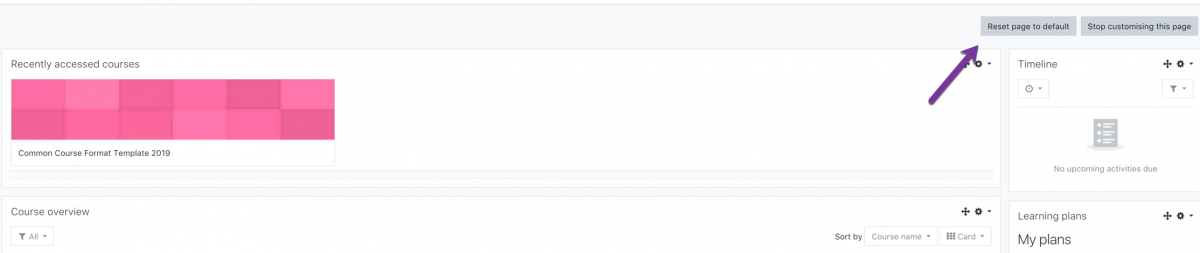
Step 6
When you are satisfied with your changes, click Stop customizing this page in the top right corner of the page.