Introduction
If you want to set-up group projects in Moodle, one option is to use the Group Self-Selection tool. This allows students to form groups themselves, either by choosing from a set of groups you create and provide, or even by creating their own groups.
There are a lot of options in this tool, but in this article we will walk through a simple set-up.
Note: If you want to provide groups for the students to choose from you can manually create Groups in Moodle or automatically create multiple groups at once.
Step 1
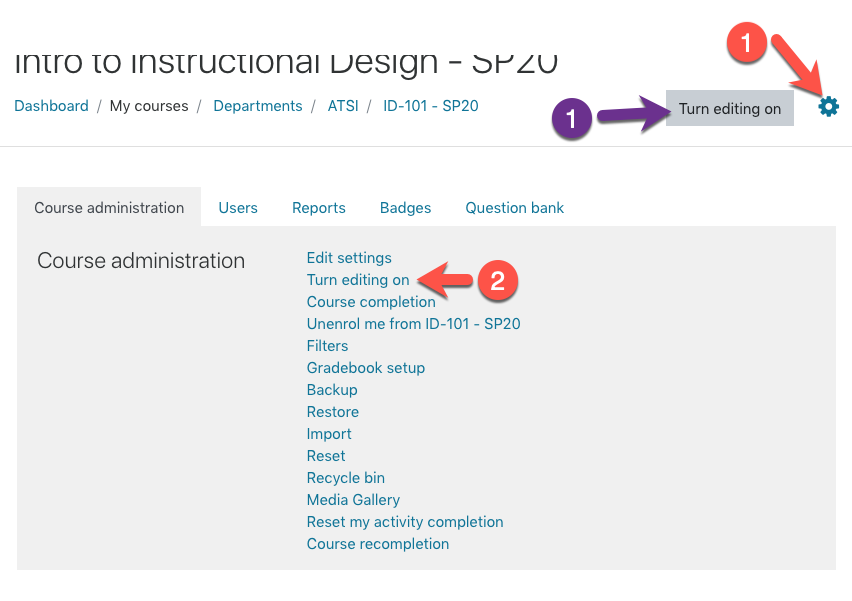
Turn editing on by either:
- Click the gear icon, then choose Turn editing on from the Course administration menu OR
- Alternatively, just click the Turn editing on button.
Step 2
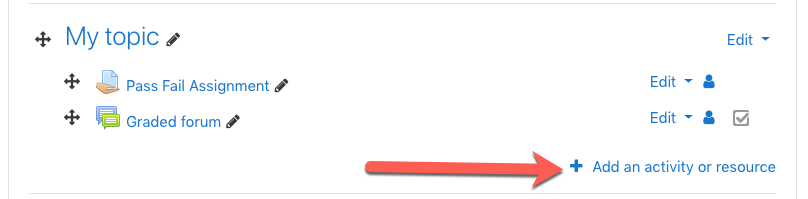
In the section where you’d like to add content, click Add Activity/Resource.
Step 3
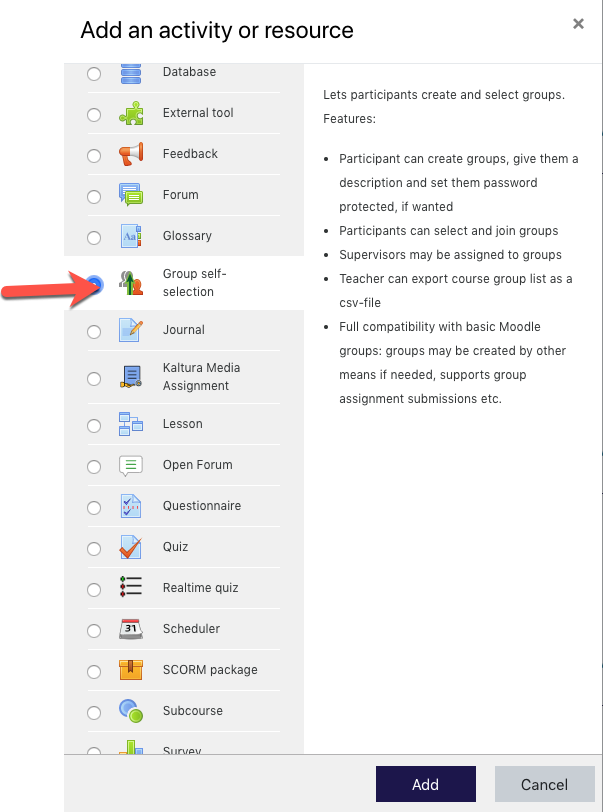
From the Activity chooser select Group self-selection and click Add.
Step 4
Go through the settings for the self-selection activity.
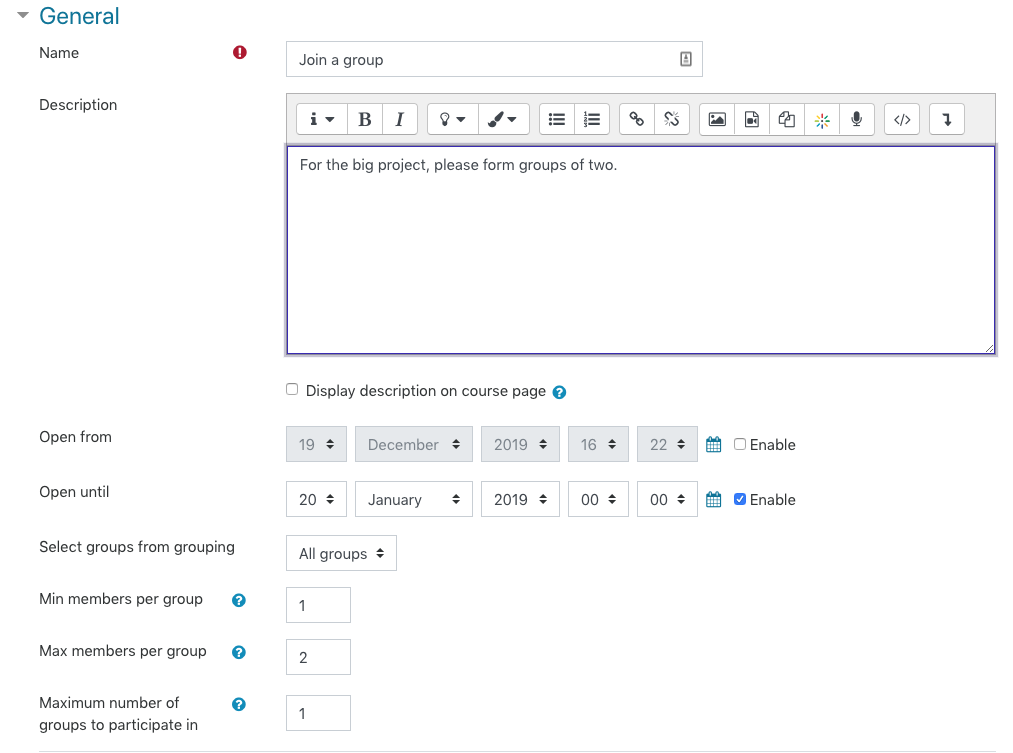
General Settings
- Give it a descriptive Name and add instructions to the Description.
- Is desired, set an Open from and Open until date.
- If you want to limit the groups that students can choose to a particular subset make sure to set up a Grouping and choose it under Select groups from grouping.
- Set the min and max number of members per group, and if you want to allow students to join more than one group.
General permissions
These settings control what special permissions have in creating or modifying groups; you may want to turn off Participants can create groups if you want them to stick to the ones you provide.
Miscellaneous settings
These are advanced settings that you probably don’t need to change, but feel free to experiment.
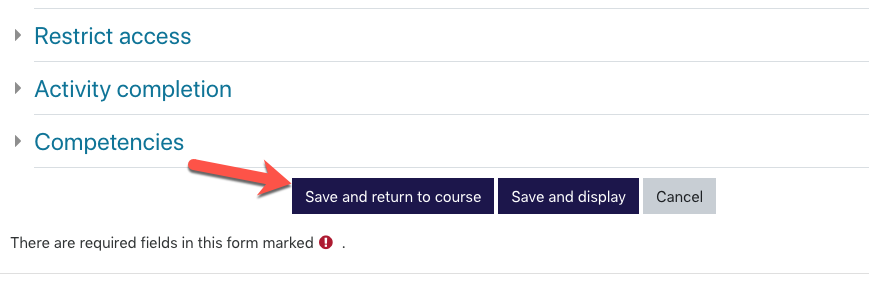
Step 5
Once you have the settings the way you want them, go ahead and Save and return to course.
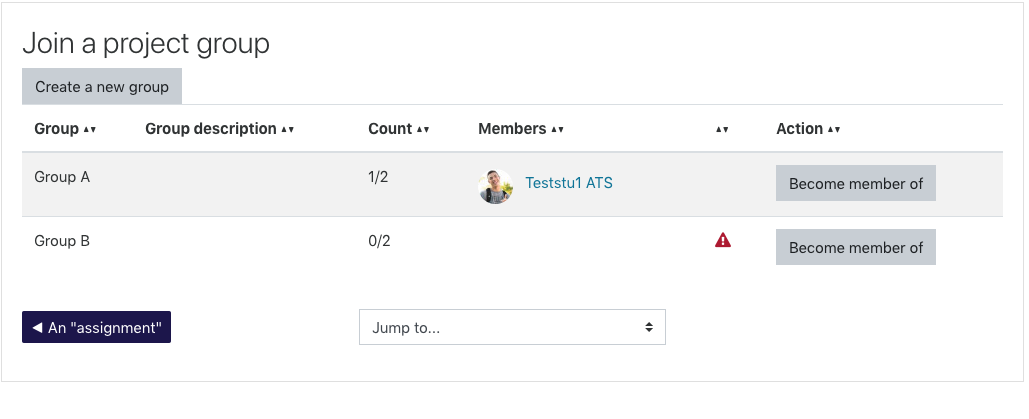
Results
Students can now join and/or create groups. You can use these groups with other activities, like assignments, discussion forums, etc.