Overview
If you would like to add image galleries to your course, you can do so using the Lightbox Gallery resource.
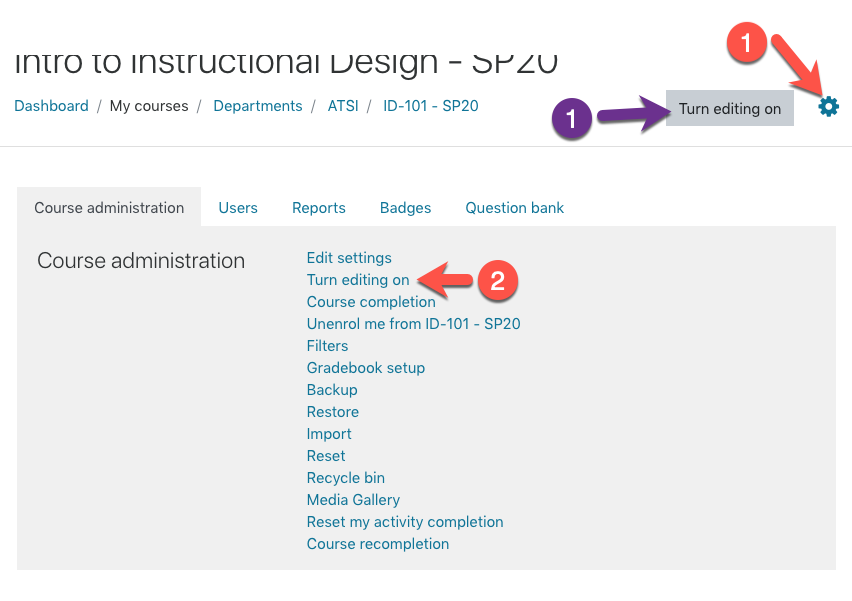
Step 1
Turn editing on by either:
- Click the gear icon, then choose Turn editing on from the Course administration menu OR
- Alternatively, just click the Turn editing on button.
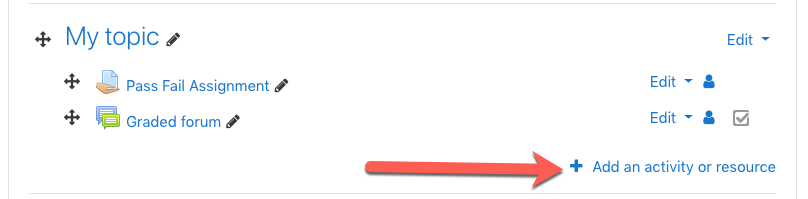
Step 2
In the section where you’d like to add content, click Add Activity/Resource.
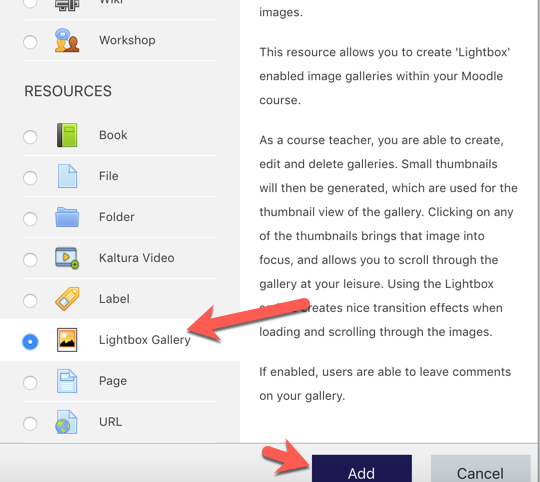
Step 3
Choose the Lightbox Gallery resource and click Add.
Step 4
Configure the Lightbox settings as desired. Give the gallery resource a meaningful name, and look under the Advanced heading for set-up options. When you are satisfied with the settings, click Save and display.

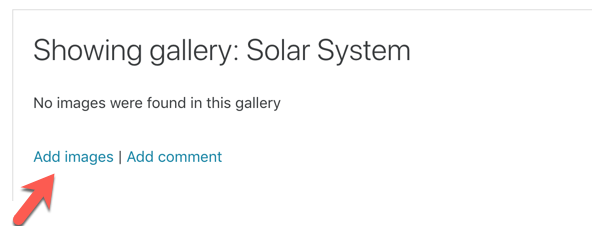
Step 5
Now you can add images to the gallery. Click the Add images link.
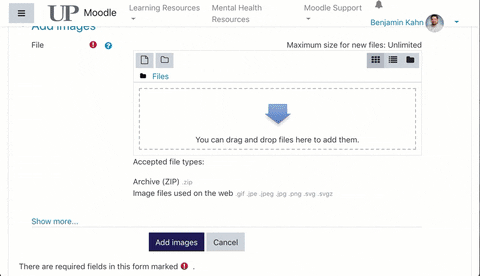
Step 6
Use the upload screen to drag and drop your web friendly image files (or a ZIP folder full of image files) in to the gallery and then click Add images.
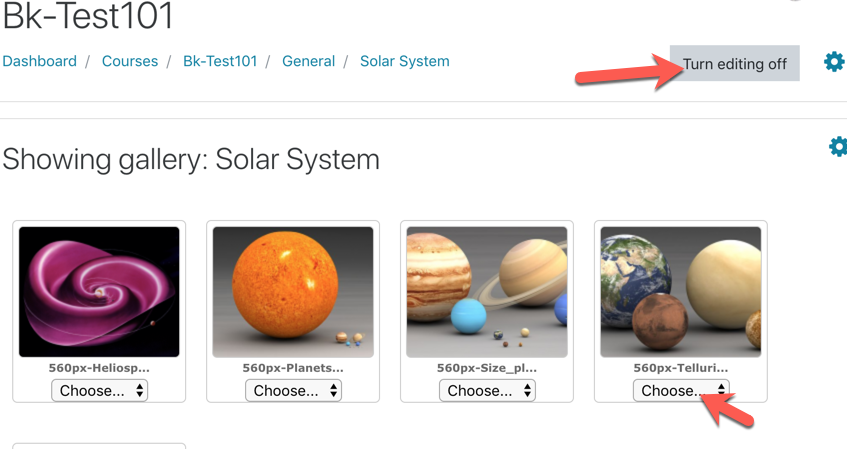
Editing images
If you need to change, delete, add captions etc, to images, make sure that Editing is on and use the drop-down list that appears under each image.