Teachers can limit the file types that students are allowed to upload to an assignment submission. This is helpful to ensure that students are turning in a file that is appropriate for the assignment task (for example, if you want students to submit an image file instead of a Photoshop project file) or to accommodate a teacher’s grading workflow (for example, specifying Word documents so that track changes can be used, or PDFs so that submissions can be easily annotated).
Step 1
Open the assignment you want to set accepted file types in.
Step 2
Click Edit settings from the “Assignment administration” menu.
Step 3
In the “Submission types” section, locate the “Accepted file types” field and click Choose. If you do not have a “Choose” button, you will need to type in the accepted file types seperated by commas (for example, “.png, .jpg”).

Step 4
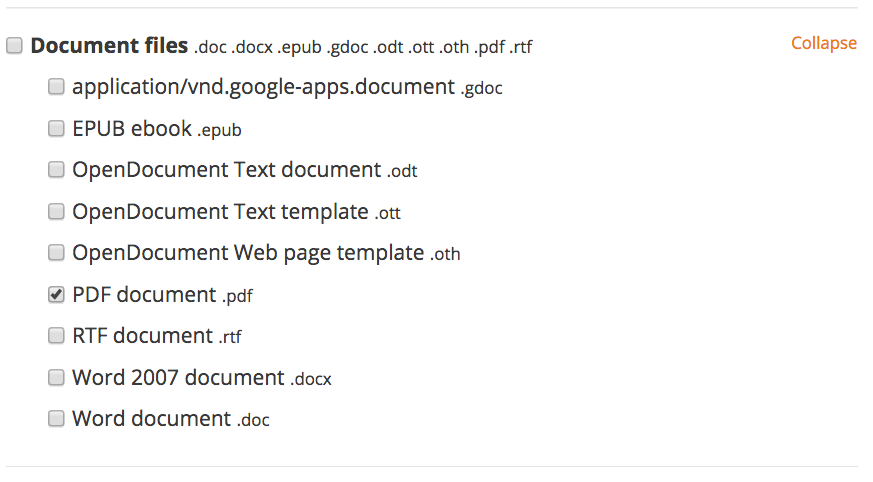
The available restrictions are organized by category. Check any category name to allow all file types in that category. Check any individual items to allow them without including all others in the category. Multiple categories or individual file types can be selected at once.
Step 5
Scroll to the bottom of the file types list and click Save.
Step 6
You should see any filetypes you chose listed in the “Accepted file types” field.

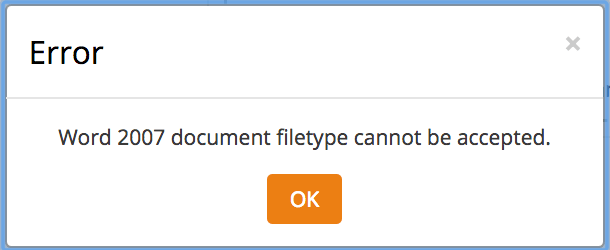
When students visit the assignment submission screen, they will see a list of allowed file types. If they attempt to upload a non-allowed file, they will see an error message.